
Garage door springs might look simple, but their failure is one of the most serious hazards in home maintenance. Most people do not realize how much tension these springs are under or that improper repairs lead to thousands of injuries every year. Plenty of DIY guides skip over the risks, but the truth is that safe garage door spring repair demands strict attention to detail and careful steps that most homeowners overlook.
Table of Contents
- Step 1: Assess Your Garage Door Condition
- Step 2: Gather Necessary Tools And Safety Gear
- Step 3: Disconnect The Garage Door Opener
- Step 4: Inspect And Replace Broken Springs
- Step 5: Reattach The Garage Door And Test Functionality
- Step 6: Conduct Final Safety Checks And Maintenance
Quick Summary
| Key Point | Explanation |
|---|---|
| 1. Assess garage door springs carefully | Examine springs for wear like rust, gaps, or balancing issues to diagnose potential problems accurately. |
| 2. Use proper safety gear and tools | Equip yourself with gloves, goggles, and appropriate tools to protect against injuries during repairs. |
| 3. Disconnect the opener for safety | Unplug the opener and manually disengage the door to prevent accidental activation while repairing. |
| 4. Follow precise spring replacement procedures | When replacing springs, ensure measurements match, and be aware of tension for safety; consult professionals if uncertain. |
| 5. Conduct final safety checks post-repair | Inspect components and lubricate moving parts to maintain smooth operation and prevent future issues. |
Step 1: Assess Your Garage Door Condition
Addressing garage door spring issues starts with a comprehensive and careful assessment of your entire garage door system. Before diving into repairs, you need to understand exactly what’s happening with your garage door’s mechanical components. Visual and functional inspection is crucial to diagnosing potential spring problems accurately.
Begin by examining the garage door springs from a safe distance. Look for clear signs of wear, such as visible gaps, rust, or stretching in the spring mechanism. When you manually lift the door, pay close attention to how it moves. A properly functioning garage door should rise smoothly without jerking, squeaking, or feeling unusually heavy. If you notice the door seems unbalanced or struggles to stay open, these are red flags indicating potential spring damage.
Carry out a balance test by disconnecting the automatic opener and lifting the door manually halfway. A well-maintained garage door should remain in place without falling or rising on its own. If the door drops or shoots upward, this signals significant spring tension problems that require immediate professional attention. Check out our guide on DIY garage door repairs for more detailed insights into understanding your garage door’s mechanical health.
Critical verification points for spring condition include:
- Symmetric spring tension on both sides
- No visible cracking or separation in spring coils
- Smooth movement without unusual sounds
- Door remains stable when partially opened
Remember that garage door springs are under extremely high tension. While this initial assessment helps you understand the problem, do not attempt complex repairs without professional training. Improper handling can lead to serious injury or further damage to your garage door system. Your careful observation now sets the stage for the next steps in addressing your garage door spring issues.
Step 2: Gather Necessary Tools and Safety Gear
Preparing for garage door spring repairs requires meticulous tool selection and comprehensive safety precautions. Proper preparation is your first line of defense against potential injuries and equipment damage. Professional technicians understand that having the right tools and protective gear can make the difference between a successful repair and a dangerous accident.
Your safety toolkit should include specific items designed for precise and secure garage door spring work. Start with high-quality work gloves made from thick leather or heavy-duty synthetic materials that provide excellent grip and protection against sharp metal edges. Protective eyewear is non-negotiable – select safety glasses or goggles that wrap around and provide complete eye coverage. A sturdy hardhat can protect against potential spring tension releases, while thick-soled work boots with good traction will keep you stable on potentially slippery garage floors.
For tools, you’ll want a comprehensive set that includes:
- Adjustable wrenches in multiple sizes
- Heavy-duty socket set
- Sturdy ladder with non-slip feet
- Tape measure
- Locking pliers
- Hammer
- Screwdrivers (flathead and Phillips)
Our comprehensive garage door installation guide offers additional insights into professional-grade tool selection. Before beginning any work, double-check that all tools are in excellent condition with no visible damage or wear. Ensure your workspace is clean, well-lit, and free from potential tripping hazards. Remember that no repair is worth risking your personal safety. If at any point you feel uncertain or uncomfortable with the repair process, it’s always recommended to contact a professional garage door technician who can handle the complex and potentially dangerous task of spring replacement.
Below is a table summarizing essential tools and safety gear for garage door spring repair, including their primary uses and critical safety functions.
| Tool/Safety Gear | Purpose/Use | Safety Function |
|---|---|---|
| Work gloves | Protects hands from sharp edges and improves grip | Prevents cuts and abrasions |
| Safety glasses/goggles | Shields eyes from debris or spring fragments | Prevents eye injuries |
| Hardhat | Guards against head injuries from parts or tools | Protects head from impact |
| Work boots | Provides stable footing and shields feet | Prevents slips and foot injuries |
| Adjustable wrenches | Loosens or tightens nuts and bolts | Ensures secure assembly/disassembly |
| Socket set | Assists with removing or installing fasteners | Facilitates precise adjustments |
| Ladder (non-slip feet) | Provides safe access to high areas | Reduces risk of falls |
| Tape measure | Measures springs for correct replacement | Ensures proper fit |
| Locking pliers | Holds components securely in place | Prevents accidental slips |
| Screwdrivers (flat/Phillips) | Used for removing and installing hardware | Ensures proper assembly |
Step 3: Disconnect the Garage Door Opener
Disconnecting your garage door opener is a critical safety step that prevents unexpected movement during spring repair work. Electrical systems can be unpredictable, and an accidentally activated opener could cause serious injury or damage while you’re working on the springs. The disconnection process requires careful attention and methodical execution.
Start by locating the opener’s power source. Unplug the unit from the electrical outlet or switch off the dedicated circuit breaker in your home’s electrical panel. This step eliminates any potential for accidental electrical engagement. Next, find the manual release cord typically hanging from the opener’s trolley – it’s usually a red rope with a handle. Pull this cord downward to disengage the door from the automatic opener mechanism. This allows you to move the door manually without interference from the motorized system.
Carry out a quick verification to ensure complete disconnection:
- Attempt to activate the opener remote control
- Check that the door does not respond to opener commands
- Manually lift the door to confirm it moves freely without motor resistance
Learn more about garage door opener installation and safety to understand the intricacies of these systems. After disconnecting, place the opener remote in a secure location away from your work area to prevent accidental activation. Take extra precautions by placing a piece of tape over the wall-mounted opener button to remind other household members that maintenance is in progress. Always communicate with family members about your repair work to prevent unexpected interruptions or attempts to use the garage door system while you’re working.
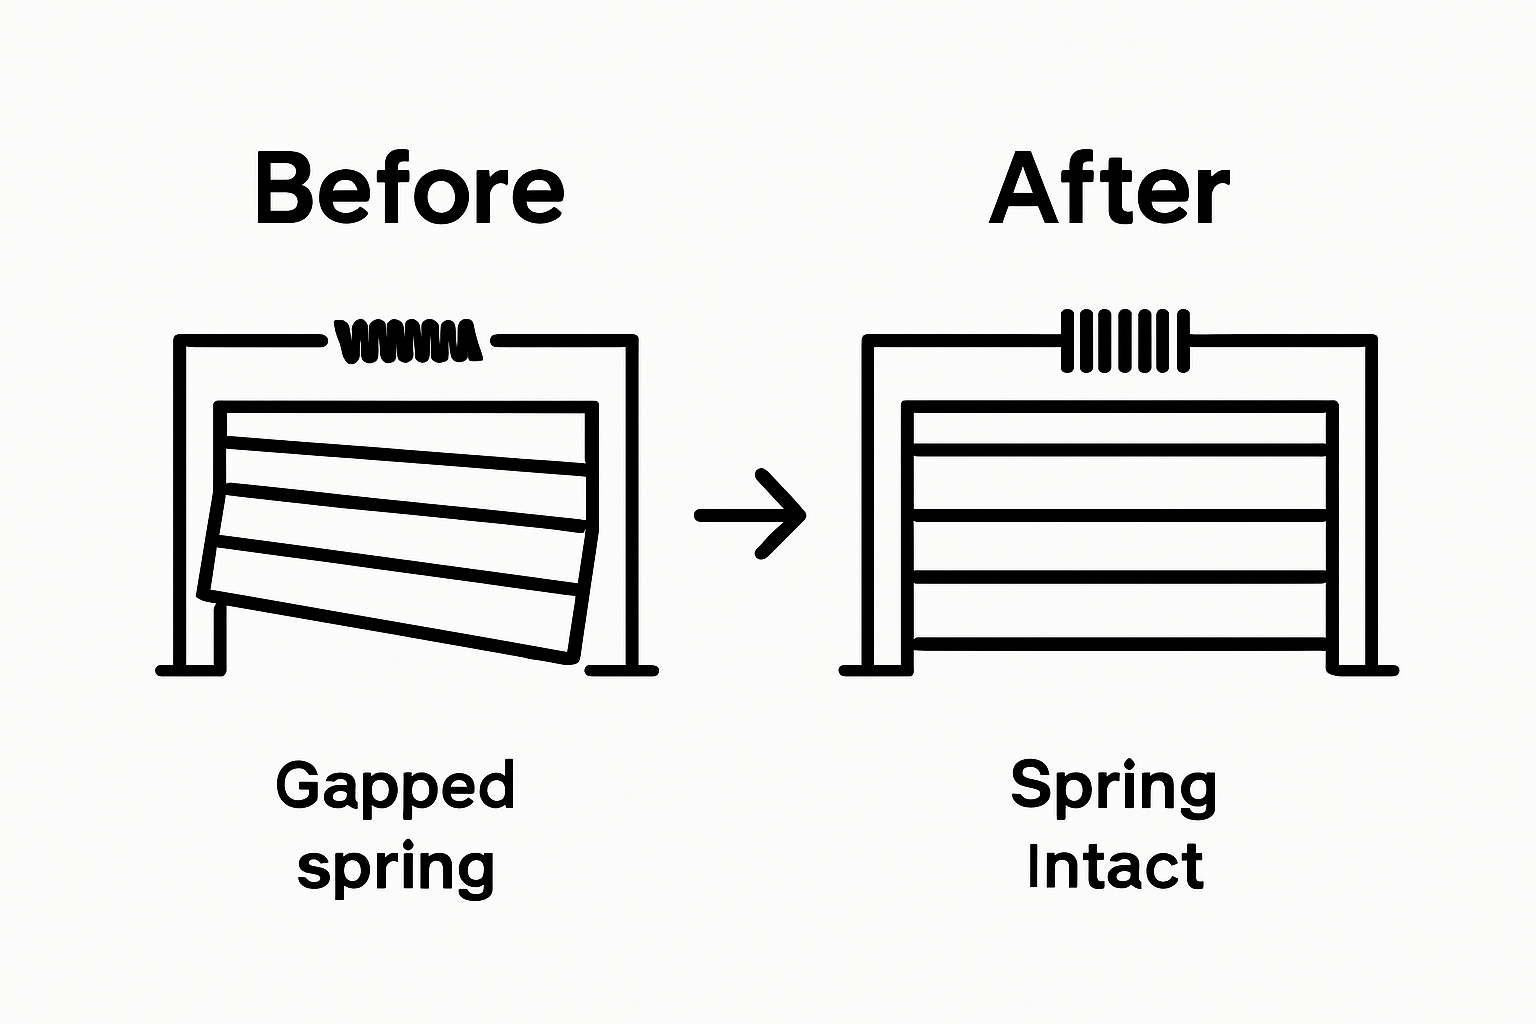
Step 4: Inspect and Replace Broken Springs
Inspecting and replacing garage door springs requires precision, caution, and a systematic approach. Spring replacement is one of the most dangerous home maintenance tasks, demanding extreme care and attention to detail. The goal is to identify damaged springs and replace them safely without causing additional damage to your garage door system.
Begin by carefully examining both torsion and extension springs for signs of wear, including visible gaps, rust, stretching, or deformation. Torsion springs mounted above the door are typically more complex to replace and require specialized tools and techniques. Look for telltale signs like uneven tension, visible cracks, or springs that appear stretched out or compressed. When a spring breaks, you might notice one side of the door hanging lower than the other or experiencing difficulty during manual operation.
Key verification points for spring condition include:
- Symmetric spring tension on both sides
- No visible cracking or separation in spring coils
- Springs maintain consistent color and structural integrity
- No unusual sounds when manually testing door movement
Our expert guide to garage door spring replacement provides additional insights into professional techniques. When replacing springs, always work with precise measurements and matching replacement springs. Measure the existing spring’s length, wire diameter, and inner diameter to ensure you purchase exactly matching replacements. If you encounter any uncertainty during this process – such as springs under extreme tension or complex mounting configurations – it is crucial to stop and contact a professional technician. Attempting repairs beyond your skill level can result in serious injury or significant damage to your garage door system.
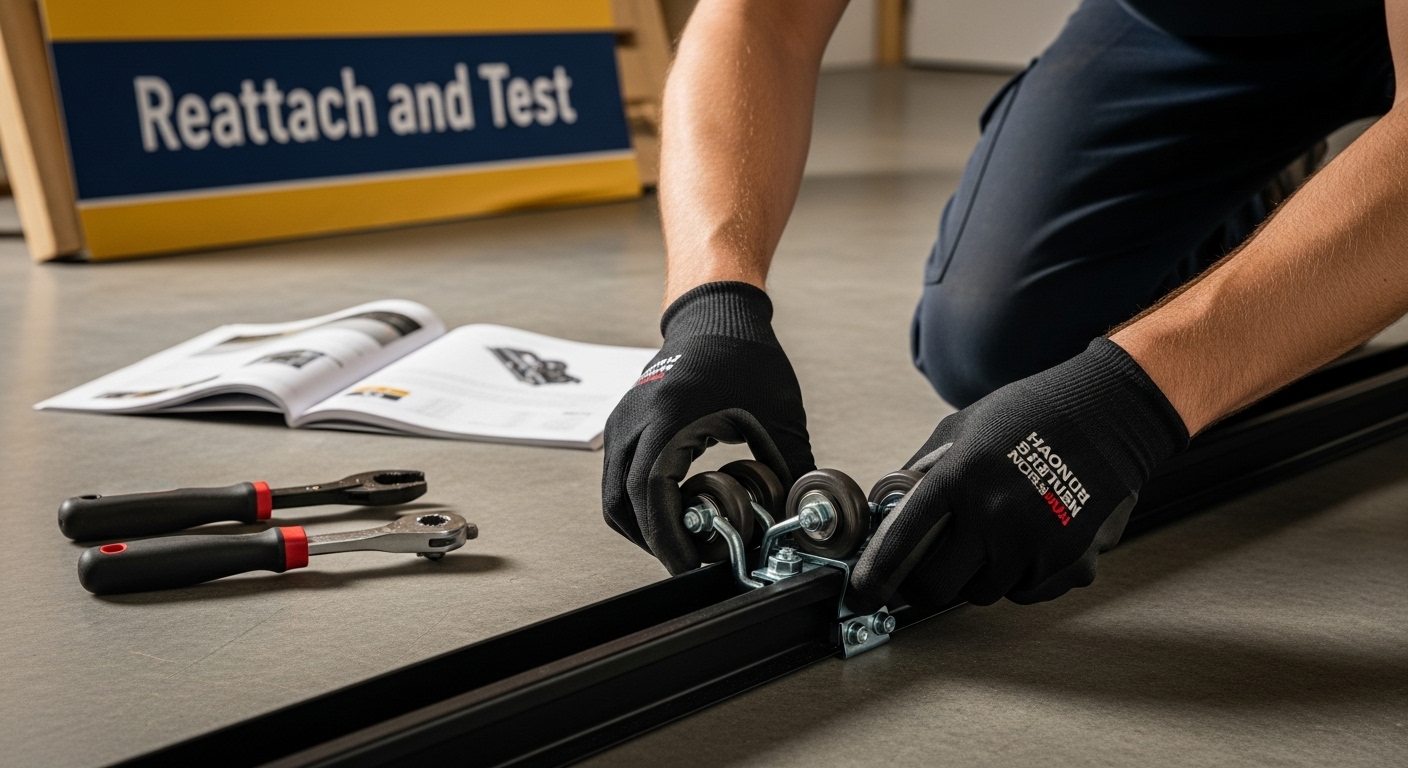
Step 5: Reattach the Garage Door and Test Functionality
Reattaching your garage door and verifying its operational integrity is the final and most critical phase of spring repair. Precise reattachment ensures your door functions safely and smoothly, preventing potential accidents or further mechanical damage. This step transforms your technical repair work into a fully functional garage door system.
Carefully realign the door with its track system, ensuring each roller sits perfectly within the track channels. Slow and deliberate movement is key during this process. Gradually lift the door manually, checking for smooth, balanced motion without catching or jerking. Pay close attention to how the door moves – it should rise and lower evenly on both sides, with no resistance or unusual sounds. Reconnect the opener’s trolley to the door by pulling the manual release cord back to its original position, which reengages the automatic system.
Critical functionality tests include:
- Door rises and lowers completely without manual assistance
- No unusual grinding or scraping sounds during movement
- Door remains stationary when partially opened
- Opener responds correctly to remote and wall switch commands
Explore our comprehensive garage door replacement process for additional insights into system maintenance. Test the automatic reverse safety feature by placing a small object like a wooden block in the door’s path. A properly functioning door should immediately stop and reverse upon contact. If you notice any inconsistencies during these tests – such as uneven movement, strange noises, or failure of safety mechanisms – stop using the door and contact a professional technician immediately. Your careful attention during this final step ensures a safe, reliable garage door system that will serve your home effectively.
Step 6: Conduct Final Safety Checks and Maintenance
Final safety checks and routine maintenance represent the critical conclusion of your garage door spring repair process. Comprehensive verification ensures the long-term reliability and safety of your entire garage door system, protecting both your equipment and your family from potential mechanical failures. This step transforms your technical repair into a sustainable, dependable solution.
Begin by thoroughly examining all mechanical components, paying special attention to the areas surrounding your newly installed or adjusted springs. Carefully inspect cables, rollers, and mounting brackets for any signs of wear, misalignment, or potential stress points. Look for subtle indicators like fraying cable strands, uneven roller wear, or slight bends in mounting hardware. Apply a high-quality silicone-based lubricant to moving parts, focusing on hinges, rollers, and spring mechanisms. This reduces friction, prevents premature wear, and ensures smoother operational performance.
Essential maintenance verification points include:
- Smooth, consistent door movement without grinding sounds
- No visible gaps or misalignments in spring installation
- Proper tension across both springs
- Lubricated moving components
Explore our comprehensive garage door maintenance recommendations for additional professional insights. Schedule periodic inspections every six months to catch potential issues before they escalate. Listen carefully during operation, watching for any unusual noises or resistance that might indicate emerging problems. If you detect anything unusual or feel uncertain about the repair’s outcome, consulting a professional garage door technician is always the safest approach.
Here is a quick reference table listing common garage door spring problems, the likely causes, and recommended solutions directly based on the guide content.
| Problem | Likely Cause | Recommended Solution |
|---|---|---|
| Door feels unusually heavy | Broken or worn spring | Inspect and replace damaged spring |
| Visible gaps or rust in spring | Aging, corrosion | Replace the spring |
| Door rises unevenly or hangs lower on one side | Broken or stretched spring | Replace affected spring |
| Door does not stay halfway open (fails balance test) | Inadequate spring tension | Adjust or replace springs, call pro if needed |
| Loud squeaking or grinding noises | Lack of lubrication or damaged spring | Lubricate parts, inspect and replace springs |
| Opener does not respond after repair | Improper reattachment or disconnection | Check connection, ensure opener re-engaged |
| Your meticulous attention to these final checks transforms a potentially complex repair into a reliable, long-lasting solution for your home’s garage door system. |
Go From Garage Door Uncertainty to Lasting Safety—Let Pros Handle the Rest
If your garage door springs have left you stressed about safety, struggling with unbalanced doors, or just feeling unsure about a DIY approach, you are not alone. Tackling repairs that involve heavy tension and complex mechanics can cause worry, especially when your family’s security and your home’s convenience are at stake. The detailed steps you learned here show just how precise and risky spring repairs can be. But you do not have to carry these worries on your own.

Summit Garage Doors is the trusted partner for Seattle homeowners who want peace of mind and guaranteed results. Our expert technicians know every detail, from correct spring tension to comprehensive safety checks, and can handle it all quickly and safely. Avoid unnecessary risk and let your garage door work perfectly again. For expert service on repairs, replacements, or custom installation, visit Summit Garage Doors and experience help tailored just for you. Unsure where to start? Our technicians are ready to assist every step of the way, so contact us today and get your garage door systems working like new—protect your home and your time right now.
Frequently Asked Questions
What are the signs of a broken garage door spring?
A broken garage door spring may exhibit signs such as visible gaps, rust, stretching, or uneven door movement. If the door drops or feels unusually heavy when lifting, these are also red flags for potential spring issues.
How can I safely disconnect my garage door opener?
To safely disconnect your garage door opener, unplug it from the power source or turn off the dedicated circuit breaker. Then, pull the manual release cord, usually a red rope, to detach the door from the opener’s motor.
What tools do I need for replacing garage door springs?
For replacing garage door springs, you’ll need an adjustable wrench, socket set, ladder, tape measure, locking pliers, and screwdrivers. Ensure you also have protective gear like gloves, safety glasses, and a hardhat for safety.
How do I perform a balance test on my garage door?
To perform a balance test, disconnect the automatic opener and manually lift the door halfway. A properly balanced door should stay in place without falling or rising on its own. If it does not, this indicates spring tension issues that may require professional attention.