
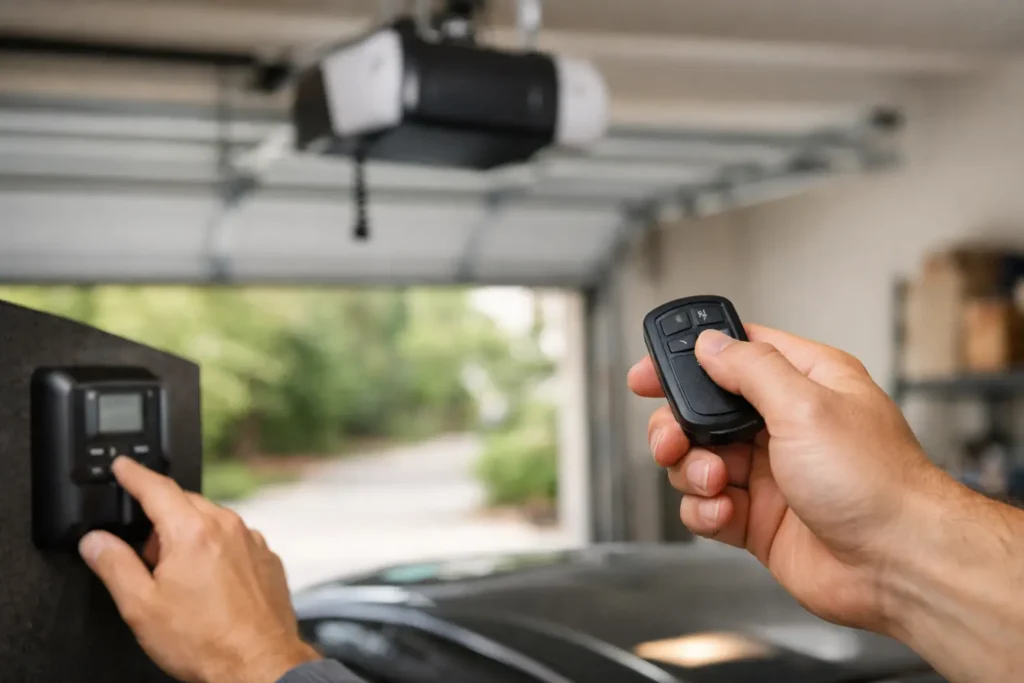
A remote that suddenly stops opening the garage can turn an ordinary morning into a frustrating delay. This garage door remote programming guide explains how to connect a new remote, replace a lost one, and protect your home after an old clicker goes missing. Most programming takes only a few minutes, but the right method depends on your opener’s age, brand, and security system.
Before pressing any buttons, make sure the garage door is fully closed and the area around it is clear. A remote controls a heavy moving door, so programming should never be treated as a shortcut around an opener that is already behaving unpredictably.
Before You Program a Garage Door Remote
Start by confirming that the remote is compatible with your garage door opener. An original manufacturer remote is usually the simplest choice. Universal remotes can also work well, but they must support your opener’s brand, frequency, and rolling-code technology. The packaging or instructions should identify compatible opener models.
Replace the remote battery first, even if its indicator light comes on. A weak battery can still produce enough power for a light while failing to send a dependable signal to the opener. Also check that the opener itself has power and that its motor unit is not in lock or vacation mode. On many wall-mounted controls, this setting disables handheld remotes while leaving the wall button functional.
If you are replacing a remote that was lost, stolen, or left with a former tenant, do not simply add the new remote. Erase the old remote codes from the opener first. That extra step helps prevent someone else from retaining access to your garage and, in many homes, the interior door leading into the house.
Find the Learn Button
Most modern openers use a small Learn, Program, Smart, or Learn Code button on the motor unit. It is commonly found behind the light cover, near the antenna wire, or on the back or side of the opener housing. The button may be yellow, purple, red, orange, green, or another colour depending on the manufacturer and model.
Do not guess based on colour alone. Older opener systems may use dip switches rather than a Learn button, while some newer units use an app or a wall console to add devices. Check the label on the motor unit for the model number and follow its specific instructions when available.
Garage Door Remote Programming Guide: Standard Method
For many residential openers, the process follows the same basic sequence. Have the new remote in hand before you begin, since the opener usually stays in programming mode for only 30 seconds.
- Stand on a stable ladder only if needed, and locate the Learn or Program button on the opener motor unit.
- Press and release the Learn button. A small LED will usually light up or begin blinking.
- Within 30 seconds, press and hold the button on the remote you want to use.
- Release the remote button when the opener light flashes, the motor clicks, or the indicator light changes. Those signals usually confirm the remote has been stored.
- Test the remote from outside the garage, standing clear of the door’s path.
Some opener models require a second press of the remote button after the opener light flashes. Others may ask you to press the selected remote button several times. If the door does not respond after the first attempt, wait a minute and repeat the process slowly rather than pressing buttons at random.
A key detail is the difference between pressing and holding the Learn button. A quick press typically puts the opener into programming mode. Holding it down for several seconds often erases every programmed remote and keypad from the system. That can be useful after a lost remote, but it also means all household members will need their remotes reprogrammed afterward.
Programming Through the Wall Control
Certain openers, particularly newer smart models, let you add a remote through the wall control panel. Look for a Menu, Program, Settings, or Learn option. The display may guide you through selecting a remote device and pressing the desired remote button.
This method can be more convenient when the motor unit is difficult to reach, but it is not universal. If your wall control has no display or programming menu, use the motor unit’s Learn button instead. Avoid removing covers or accessing electrical components beyond the controls designed for homeowner use.
What About Older Dip-Switch Openers?
Older garage door openers may have a row of tiny dip switches inside both the remote and the motor unit. In these systems, the switch pattern in the remote must exactly match the opener’s pattern. There is no rolling-code pairing sequence.
These systems can still operate reliably, but their fixed codes offer less security than modern rolling-code openers. If your older remote is unreliable, replacement parts may be limited. An opener upgrade may be the better long-term value, especially if you want battery backup, smartphone access, motion lighting, or stronger security controls.
When the Remote Will Not Program
If programming appears successful but the door will not move, narrow the issue down before assuming the remote is defective. Test the wall button. If the wall button also fails, the problem may be with the opener, power supply, safety sensors, motor, or door itself rather than the remote.
When the wall button works but the remote does not, check for lock mode, a drained battery, or a compatibility mismatch. Try programming the remote while standing closer to the opener. Interference from LED bulbs, nearby electronics, or radio-frequency devices can reduce range, though interference usually does not prevent initial programming altogether.
A garage door that starts moving and then reverses is not a remote programming problem. The opener may be detecting an obstruction, misaligned safety sensors, damaged rollers, a binding track, or an issue with the door balance. Do not keep cycling the door in hopes that it will correct itself. Repeated operation can strain the opener and worsen a mechanical problem.
If the remote works only intermittently, inspect the opener antenna wire. It should hang freely and not be tucked into the motor housing or wrapped around metal. Also test a second remote, if available. If both remotes have poor range, the opener receiver or surrounding interference may need professional attention.
Protect Access When You Add or Replace Remotes
Remote programming is also a home security task. Erase all stored codes after a remote is lost, after moving into a new home, or when a contractor, tenant, or former employee should no longer have access. Then reprogram only the remotes, keypads, vehicles, and smart devices that are still authorized.
Keep remotes out of plain view in parked vehicles, particularly if your registration or personal documents reveal your home address. For business properties, maintain a simple record of who has access and remove credentials promptly when staff roles change. A keypad with individual user codes can be easier to manage than handing out multiple remotes.
When to Call for Opener Service
Programming a compatible remote is a reasonable do-it-yourself task. Service is the safer choice when the opener has no power, makes grinding noises, reverses unexpectedly, has poor range across multiple remotes, or will not enter programming mode. The same applies if the door is heavy, crooked, noisy, or difficult to lift manually.
Never adjust garage door springs, cables, or bottom brackets while troubleshooting an opener. These parts are under extreme tension and require trained service. In Seattle and across King County, Summit Garage Doors can diagnose whether the problem is a remote, receiver, opener, or the garage door system itself.
A properly programmed remote should feel uneventful: one press, a smooth door movement, and the confidence that only approved people can get in. If that is not what you are getting, stop forcing the issue and have the system checked before a minor access problem becomes a door failure.

